

A Beginner's Guide to Successful Plant Growth

1. Choosing the Right Seeds
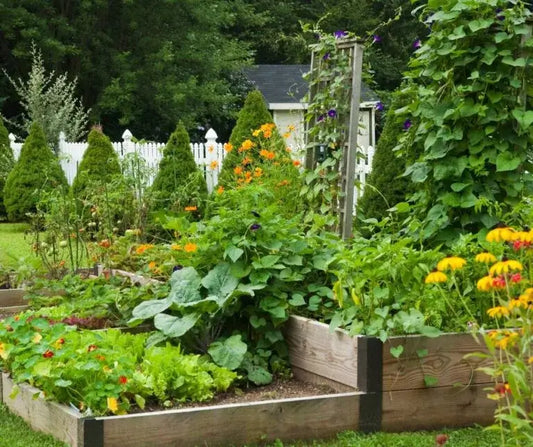
Before you start, you need to choose the right seeds. Consider your climate, available space, and personal preferences when selecting suitable plants, and decide whether you want to grow vegetables, flowers, herbs, or all three. Your local garden center will have a wide variety of seed selection. You will need to note the appropriate growing season for your intended plant. If you are in a colder climate, you’ll need to investigate what your area’s average frost dates are. Check out when it’s best to plant your veggies on the Farmer’s Almanac Planting Calendar.

2. Gathering Supplies
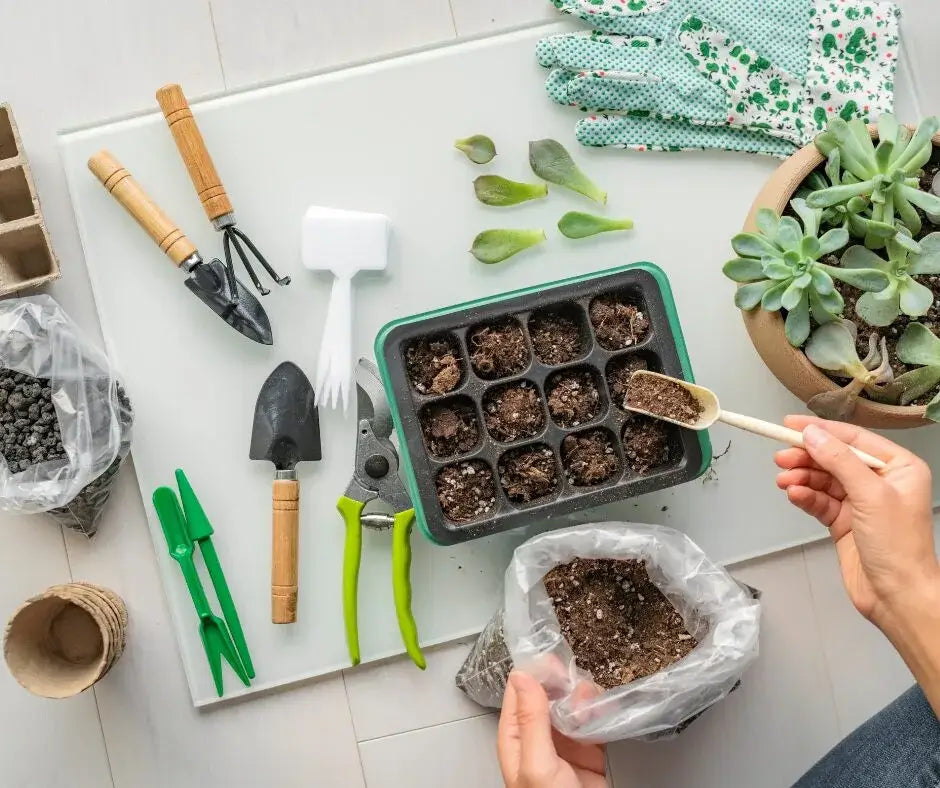
You'll need a few basic supplies to start your seeds:
Seed Starting Mix: We recommend our Sprout Island Organic & Natural Seed Starter. This mix is a blend enriched with organic compost, lobster meal, kelp meal, worm castings, and mycorrhizae, providing a nourishing environment for your seeds. It's well-suited for use in cell packs of size 72 or larger, ensuring your seeds have ample space to develop.

Containers: You can use seed trays, peat pots, biodegradable pots or even recycled containers like egg cartons. Make sure they have drainage holes. Note that if you use biodegradable pots, moisture evaporates rapidly, and you’ll need to water more often. Be sure to also have a tray for these pots to be able to collect the excess water. If you choose to use the other options listed be sure to clean these out when it’s time to transplant to be able to reuse for your next sowing period.
Labels: Label your seeds to remember what you planted where.
Watering can or spray bottle: Gently water or spray the surface making sure to not disturb the seeds.
Light source: Natural light or grow lights if you’re starting seeds indoors.
3. Planting the Seeds

Begin by filling your containers with Sprout Island Blend Seed Starting mix. Once filled, lightly moisten the mix with water, allowing it to settle. Next, proceed to plant your seeds. Refer to the instructions on the seed packet, as they typically indicate the appropriate depth at which to plant each seed. After planting the seeds, carefully water the mix once more, being gentle to avoid disturbing the seeds. When using a water-catching tray beneath the containers, make sure to regularly check and empty it if needed. This step is crucial to avoid excessive moisture, which could be detrimental to the seed germination process.
4. Providing the Right Environment
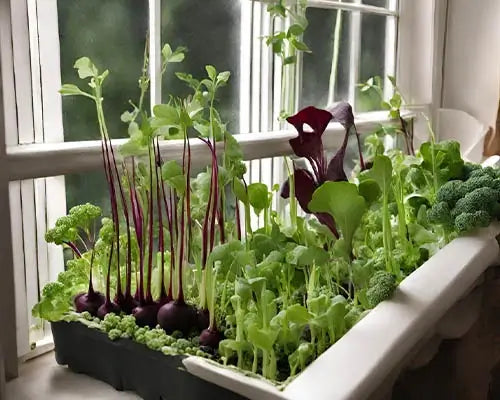
Seeds need the right temperature and light to germinate. Most seeds germinate best at temperatures between 65-80°F. If you’re starting seeds indoors and your house is cool, consider using a heat mat. Light is crucial once the seeds start to sprout. If you don’t have a sunny window, use grow lights to provide enough light for your seedlings.

5. Watering and Feeding
Keep the soil consistently moist but not waterlogged. Use a spray bottle to mist the soil surface or water gently with a watering can. Once the seedlings have a few sets of true leaves, you can start feeding them with a half-strength liquid fertilizer every couple of weeks.
6. Transplanting
When your seedlings are big enough and the weather is right (for outdoor plants), it’s time to transplant them. When the weather is consistently above 50°F you can start to consider transplanting. If you started your seeds in peat pots, you could plant them directly into the ground or a larger pot. For other containers, gently remove the seedling and plant it in its new home. Try our Bar Harbor Blend Potting Mix or Quoddy Lobster Compost Blend when transplanting your seeds.
7. Ongoing Care
After transplanting, continue to care for your plants by watering, feeding, and protecting them from pests and diseases. With proper care, your seedlings will grow into healthy plants. Seed starting is a fulfilling activity that can be enjoyed by gardeners of all levels. By following these simple steps, you’ll be well on your way to growing beautiful plants from seeds. Bonus if you can get others involved and enjoy the process together. Remember, patience is key – it’s incredibly rewarding to watch the seeds you planted grow into flourishing plants.
Happy sowing!
Want more details?? View our YouTube Seed Starting Playlist for helpful guides and project specific tips.